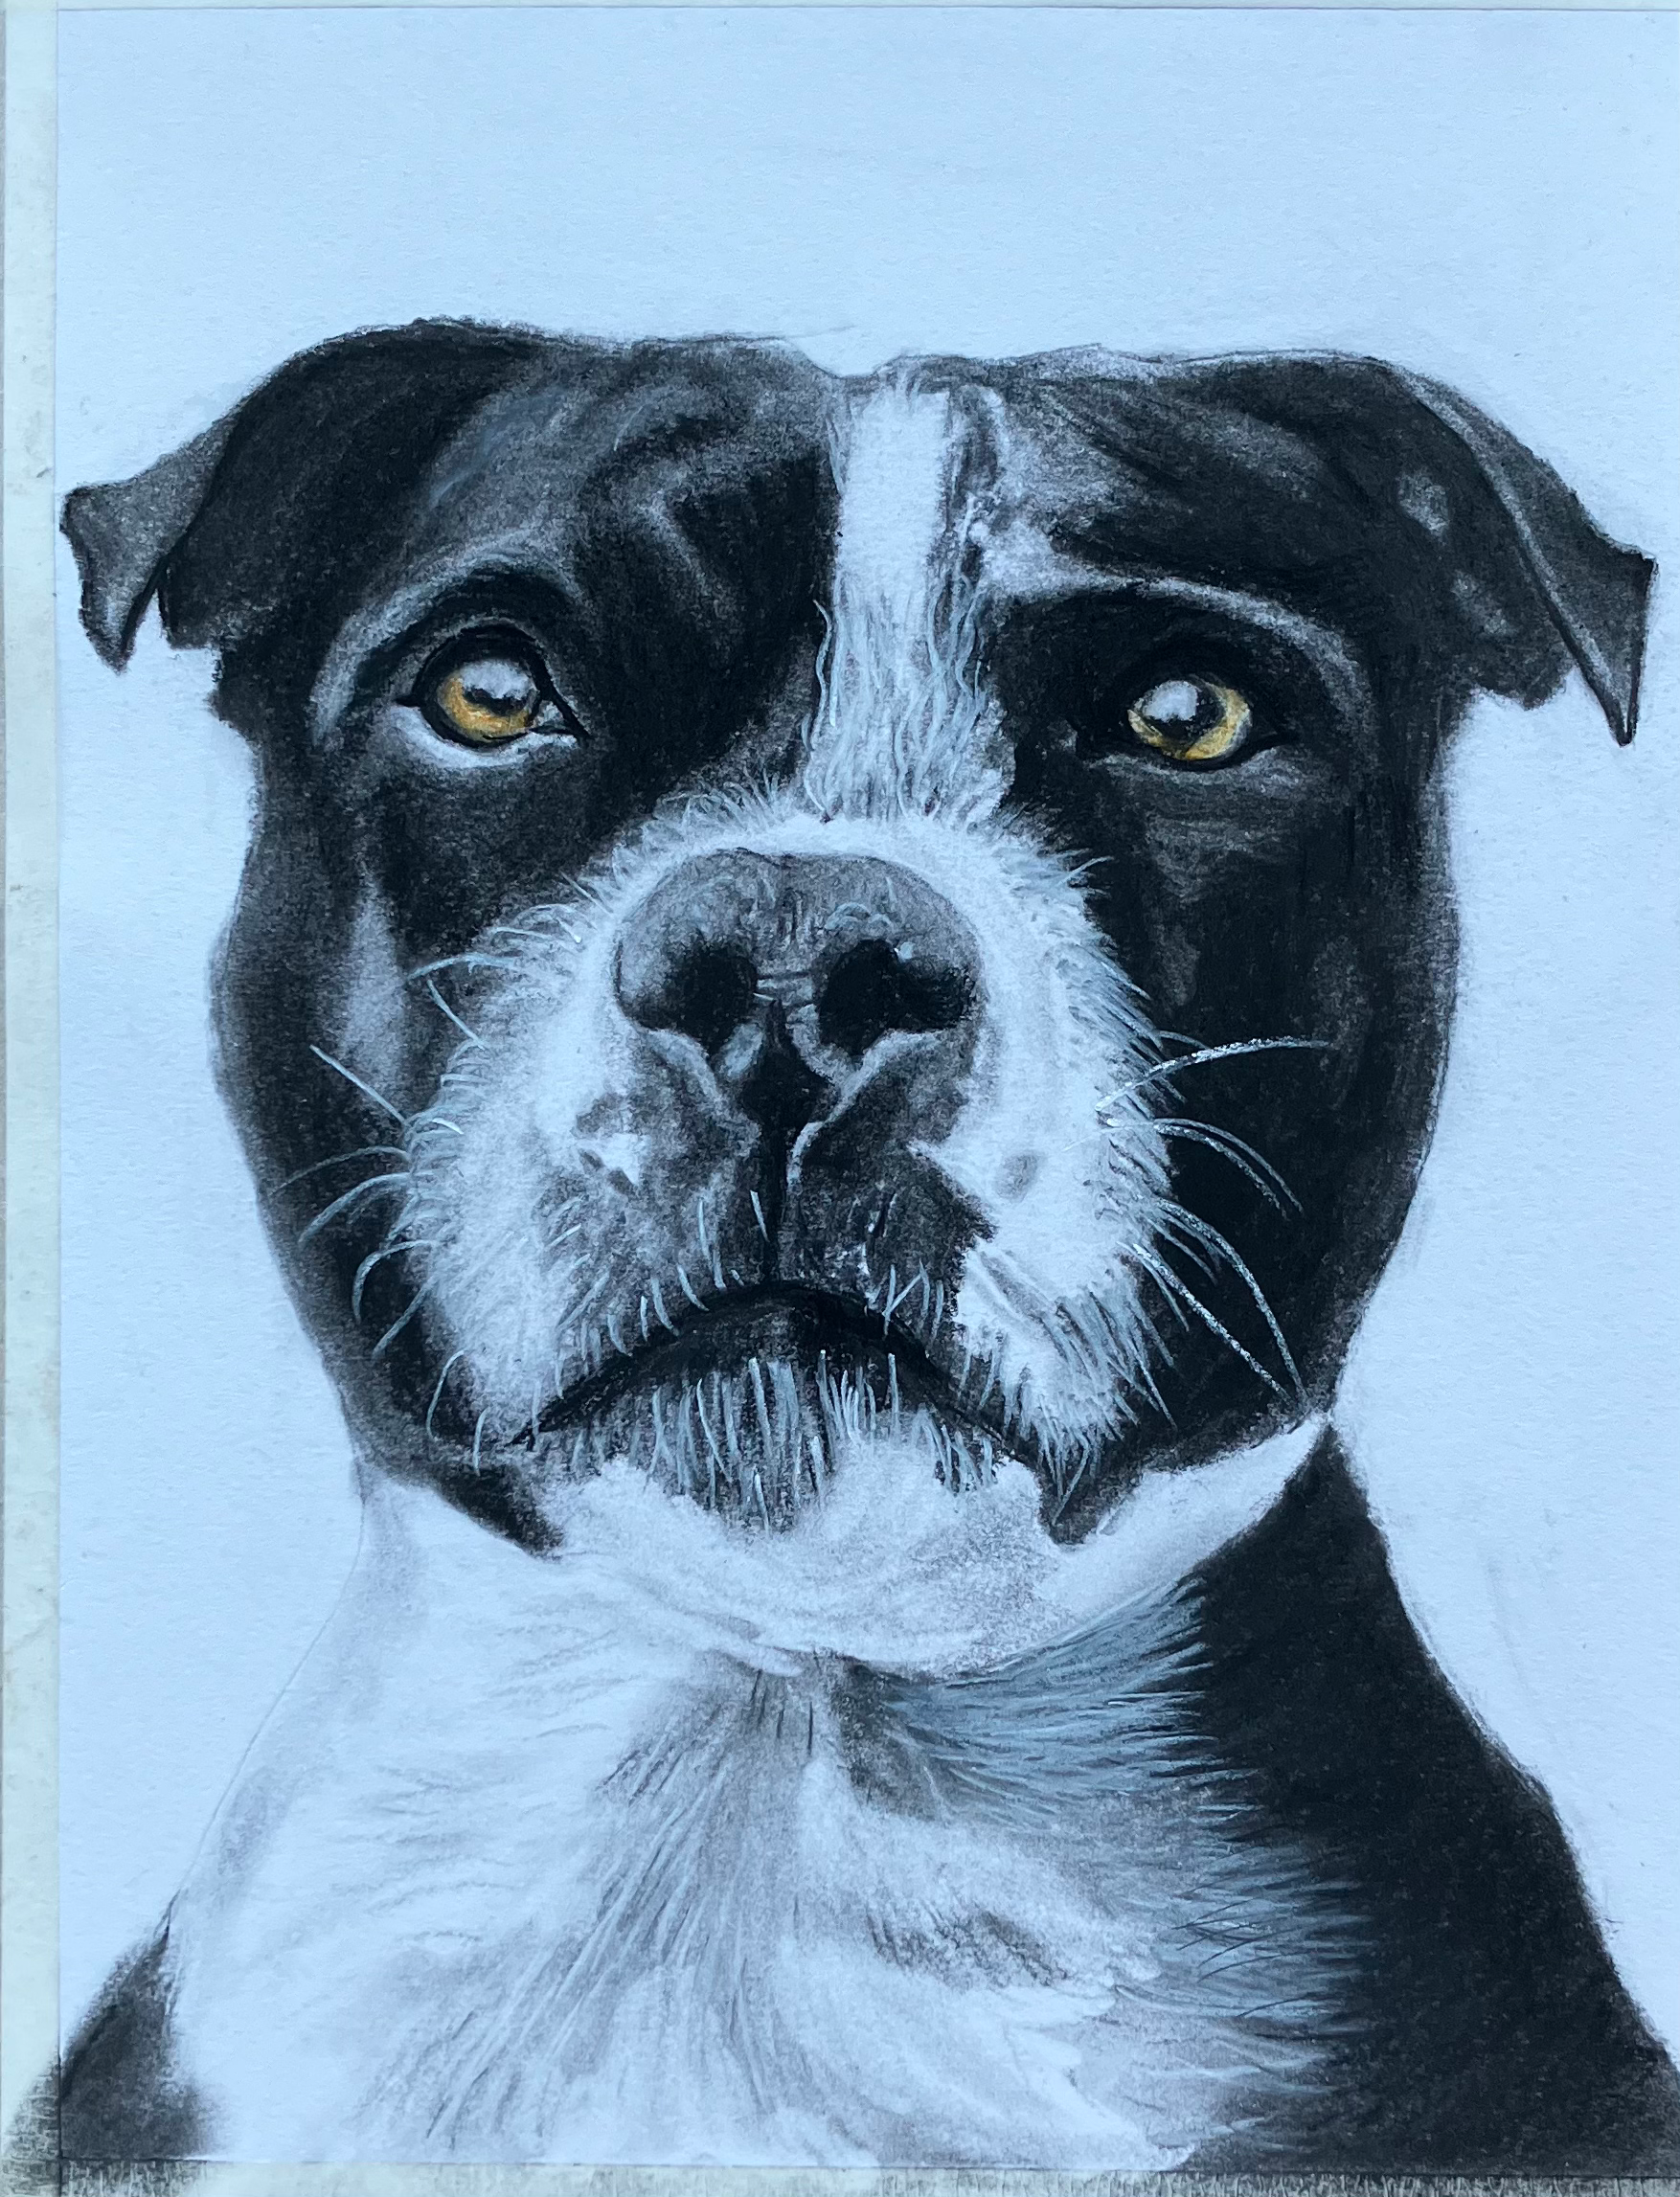
Creating the Eyecon “Cat”: Pastel Eye & Fur Texture Tutorial
- Marco

- Oct 7
- 2 min read
Updated: Nov 23
There’s something mesmerising about a cat’s eye — the depth, the light, and the mystery it carries.
In the development of this Eyecon I wanted to capture the hypnotic beauty of a cat's eye using soft pastels, focusing on texture, reflection, and colour.
In this post, I’ll walk you through the stages of creating this piece — from the first sketch to the final detailed fur.
Step 1: The Sketch and Base Colors

Every artwork begins with a foundation.
I started with a light sketch to outline the general shape of the cat’s eye and the direction of the surrounding fur.
The goal here wasn’t precision but flow — to understand how the fur radiates from the eye and where light will hit.
Once the lines were in place, I began layering the first colors into the iris. Layering, especially when using charcoal and soft pastel takes time and practice. Knowing when to consolidate, when to add a second layer isnt as easy as it looks so practice on a piece of rough paper first. In addition notice the paper layer which ai use to rest on and ensure the unfixed pastels or charcoal do not smudge or transmit. Chose a high gloss paper for this purpose.
Shades of aqua blue, siena and white helped build depth and set the tone for the reflective surface.
The black pupil and upper shadows started giving the eye its distinct feline character.

Step 2: Building Depth and Texture
In this stage, I began adding layers of fur around the eye.
Using a mix of blue, gray, and beige pastels, I worked outward, creating texture and movement. Blending and smoothing takes practice so don’t give up and keep practicing.
The trick is to use soft, directional strokes to mimic real fur strands.
I also deepened the shadows around the eye — especially at the top and left — to emphasize contrast and realism.
The iris gained more vibrancy, and the reflections within it became more pronounced.

Step 3: Final Details and Highlights
This final phase was all about refinement.
I focused on adding delicate, fine white hairs to enhance texture and realism.
The fur’s gradient transitions became smoother, blending blues, browns, and grays harmoniously.
The eye itself was polished with subtle touches of white and gold to capture the reflective gleam of light.
Every tiny highlight added life — turning the drawing from a static image into something that feels almost alive.
The final result captures what I love most about feline eyes: that captivating mixture of curiosity and mystery.
Reflection
This piece, titled “Cat" (signed Marco, 2025), reminded me how powerful observation can be in art. Each layer brought new challenges — balancing color, texture, and light — but also moments of discovery.
Art, much like a cat’s stare, is about patience and depth.
You never truly see everything at once; it reveals itself slowly, as you take your time to look closer.
Watch out for the next Eyecons in the series “Gorilla” and “Zebra”
I will be using the latest Derwent Charcoals and CaranD’ache pastels.
Marco


Comments